Nail Process Guide
Post Detail

Gathering Manicure Supplies
Gel nail polish generally requires more steps than enamel nail polish. You will need three nail polish products: gel base coat, gel color polish, andgel nail top coat. For cleaning the nails, users need gel nail cleanser and alcohol wipes. For preparing the nails, users need nail clippers, nail file, nail buffer, and a cuticle pusher. Those painting their toenails too should have toe separators on hand. The application of gel nail polish has several curing steps, which require the use of a special drying light.
Preparing the Nails and Cuticles
In order for the gel nail polish to adhere properly, users need to clean and buff their nails. First remove any old nail polish using nail polish remover. Next, buff the surface of the nails to remove ridges. Then clip and file the nails to the desired length and shape. Remove all dust using the gel nail cleanser. Nails should dry thoroughly before applying the polish. Lastly, push the cuticles back using the cuticle pusher.
Applying the Gel Nail Polish
The first coat that users apply to the nails is the base coat. This requires the application of a thin layer using long, even strokes. The gel base coat needs to cure after application. The section below explains the curing process. Next, apply one or coats of colour with a curing step between each coat. Lastly, apply a thin, even layer of gel topcoat to the nails, and allow them to cure.
Fixing Mistakes
When applying gel nail polish, avoid painting the cuticles. Doing so makes the polish chip faster than it should. However, mistakes happen. If users accidentally apply polish to the cuticle, they remove it using the nail cleanser or alcohol wipes before curing the nails. Additionally, if users make a mistake on one of the layers, they simply remove that layer and start over. As long as they make the correction before the curing step, it is a simple fix.
Curing the Gel Nail Polish
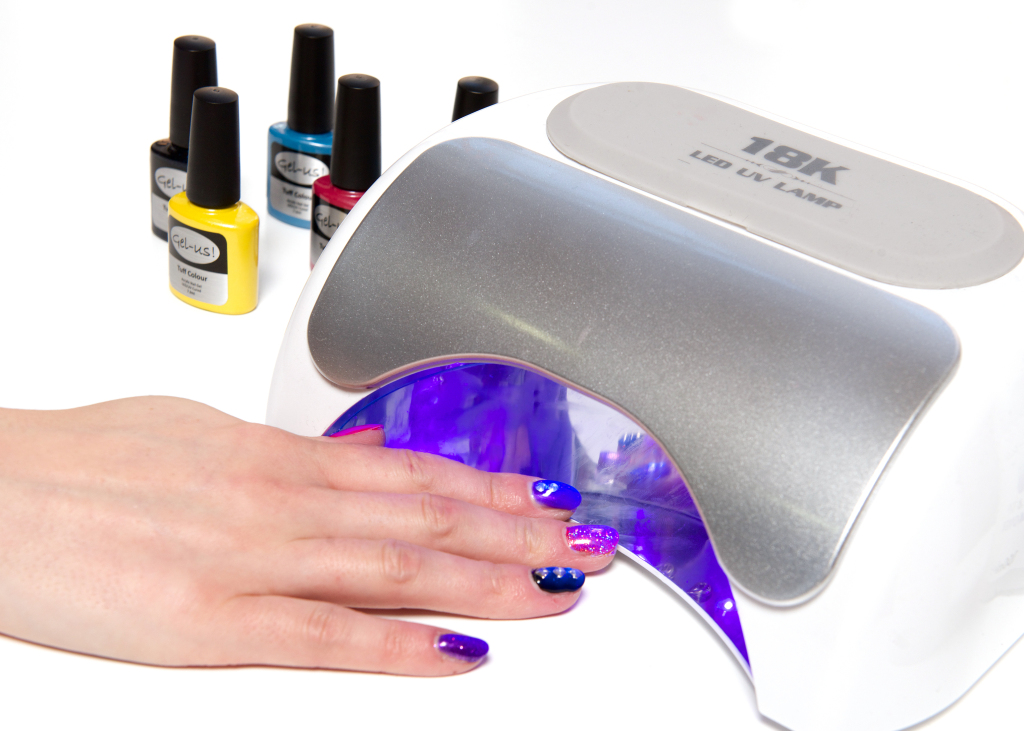
Traditional enamel nail polishes take hours to cure depending on the number of layers of polish. Gel nail polish cures in a matter of minutes before wearers get back to their regular activities. The curing stage requires a special nail drying light. Shoppers have the option of choosing a UV light or LED light. The table below lists the drying times for each coat using theses lights.
The UV light is less expensive than the LED light, but works with all types of gel nail polish. Additionally, UV lights are less expensive than LED lights. On the other hand, LED lights need their bulbs changed much less often and use less energy.
Cleaning the Nails
The last step is to clean the nails. The nails may feel a bit tacky even after the last curing stage. Rubbing the nails with gel cleanser or an alcohol wipe removes this tackiness. If the nails are uneven or have tiny bubbles, users can use the buffer to smooth them. Finally, wash the excess gel polish powder off of the nails using regular hand soap and water.
Leave Reply
Do you want to write something?

Leave Comment
0 Comments